planning · 6 min read · Updated June 12, 2026
How To Make A Birthday Poster At Home (Without Wasting $14 In Ink)
A real walkthrough of making a birthday poster at home — paper, settings, file format, and the mistakes that cost you $14 in ink.
How To Make A Birthday Poster At Home
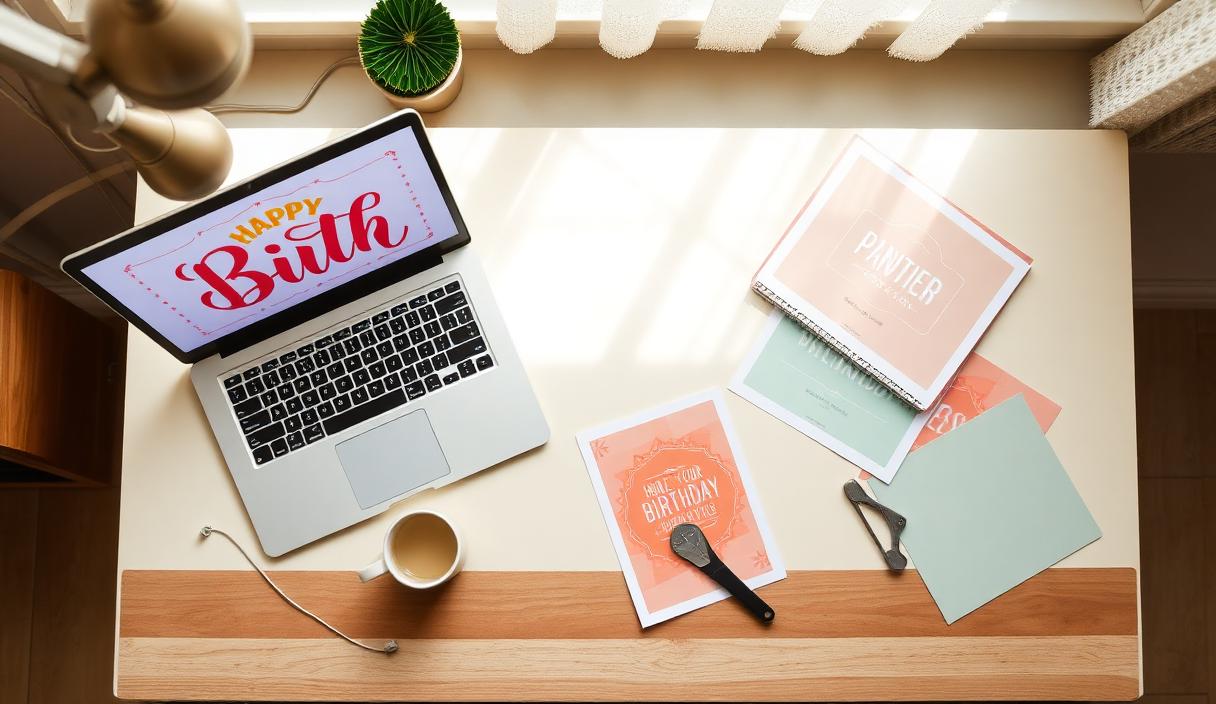
Okay. I have made probably forty birthday posters at this point, between my own four kids and helping friends. Maybe more. I don't know, maybe fifty. The first one took me three hours and $22 in ink. The most recent one took me four minutes and cost $0.31. The difference is what's in this post.
Step 1: Decide where you're actually printing it
Most home printers cap out at 8.5x11. That's a tiny poster. Cute on a side table, invisible across the room.
For anything bigger you have three options:
- Print at home on multiple sheets, tape together. Free if you have ink. Looks like it. Skip unless you're under 24 hours from the party.
- Staples / Office Depot / FedEx. 11x17 runs around $4. 18x24 runs $7–10. Most stores do same-day. Some do an hour.
- Costco photo center. 16x20 runs about $7. Better paper than office stores. Need a membership.
I do option 2 unless I have time, then option 3.
Step 2: Get a high-resolution file
This is where the $14-in-ink mistake usually happens. People download a "poster" from a free site, print it big, and it comes out fuzzy because the file was meant for an 8x10.
The rule:
- 11x17 print needs at least 3300 x 5100 px
- 16x20 print needs at least 4800 x 6000 px
- 18x24 print needs at least 5400 x 7200 px
Open the file in Preview (Mac) or Photos (Windows) and check the dimensions. If they're smaller than the above, the print will look soft. Either go a size smaller or get a better source file.
Step 3: PNG vs JPG vs PDF
- PNG: best for posters with text or hard edges. Larger files. What you want for a carved-number birthday poster.
- JPG: smaller files, photo-friendly, but text can get blurry edges. Fine for poster sites that compress anyway.
- PDF: the print-shop friendly version. Most office stores prefer PDF for posters. If your file is PNG, upload it directly to the store's web upload and they'll convert it.
For a custom birthday poster, PNG to the print shop is the safest path. Don't overthink it.
Step 4: The home-printer settings that matter
If you ARE printing at home (sub-tabloid size):
- Paper: 32lb cardstock or photo paper. Not copy paper.
- Quality: Best / Photo / High. Not Draft.
- Color: Color profile = sRGB. Most home printers do this by default; double-check.
- Borderless: turn it on if your printer supports it. The white margin around a poster makes it look small.
Step 5: The mistakes that cost money
- Printing at draft quality. Looks like a memo from 2003.
- Wrong paper. Cardstock or bust.
- File too small. Fuzzy. Reprint at $0.
- No bleed. White edges. Trim with a paper cutter or accept the border.
- Color drift. Home printers drift over time. If the kid's red shirt looks pink, your magenta cartridge is low.
The honest take
For one-off posters, home printing isn't worth the headache. The math:
- Staples 18x24 print: $9
- Home 18x24 (4 pages tiled): ~$14 in ink + 40 min of your time
You're not saving money. You're spending more, plus your Friday night. Send the file to a shop. Pick it up Saturday morning on the way back from buying balloons.
Keep reading
- Make a poster in 60 seconds — the actual generator
- Birthday poster sizes and printing guide — every size, where it works
- The full live preview — see what the output looks like
—
Quinta
Ready to actually plan it?
Pip turns this into your real party plan in about a minute. Free to start.
Start planning →